Due to laser trackers’ high accuracy over large measurement ranges, they have earned their reputation for revolutionary process advances in large-scale 3D metrology for aerospace, ground transportation, energy, and naval manufacturing, among others. Methods to optimise the efficient of use of laser trackers included having two operators working together, displaying the geometry of measured pieces with external projectors, and using a mobile phone as a remote control.
These techniques have now reached their limits.
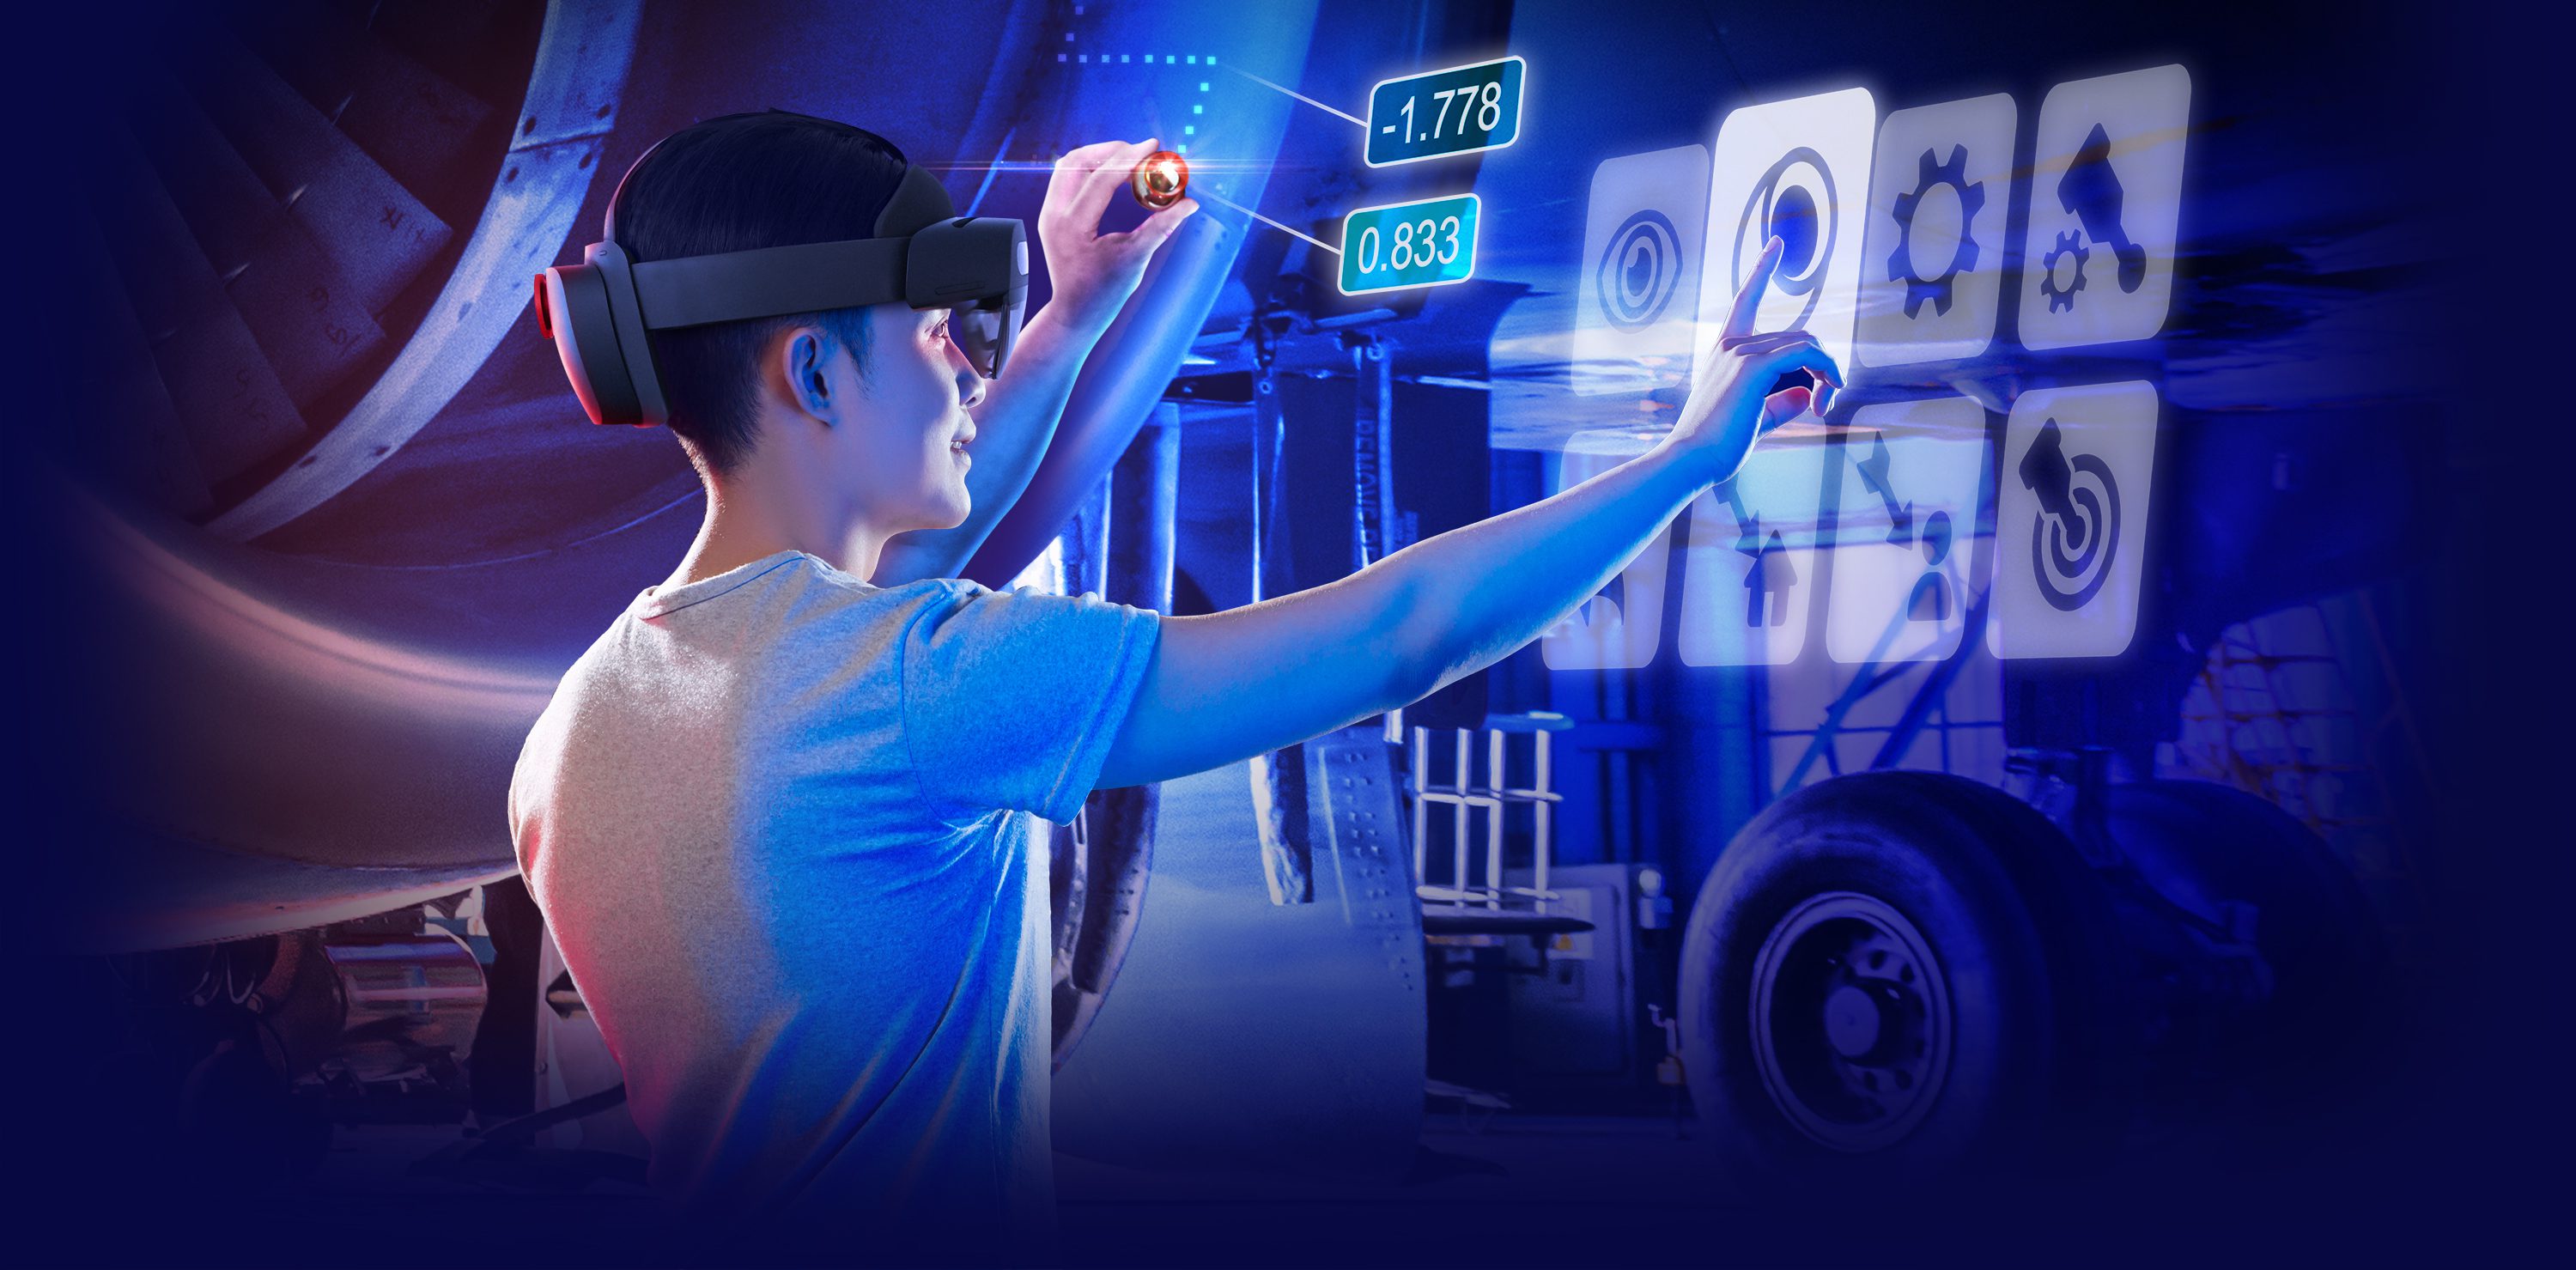
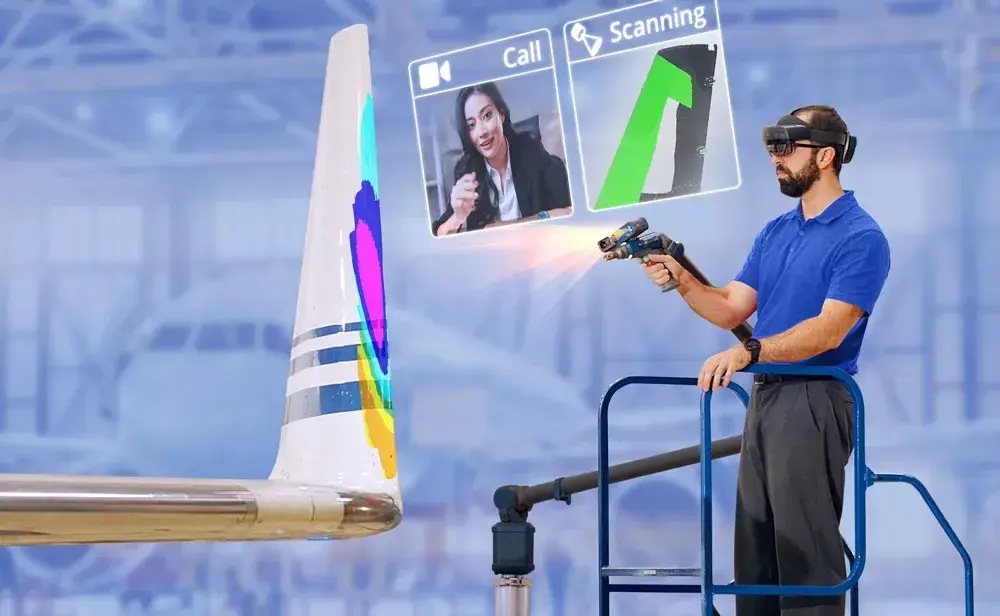
Fortunately, the technology to surpass these limits already exists. Thanks to its holographic display, tracking systems, cameras, 3D scanner, and powerful software, the Microsoft HoloLens 2 smart glasses boosts the performance of large-scale measurement by an order of magnitude when paired with the PolyWorks|AR™ app from InnovMetric. With mixed reality, large-scale metrology will never be the same:
- Operators always measure the right features as guidance graphics are superimposed onto the measured piece
- Large screens and external projectors are unnecessary
- Operators can work hands-free
- Changing inspection tasks is one gesture away

Small Versus Large
For objects smaller than two meters, 3D measurement is straightforward. Operators know their position with respect to what they are measuring at all times. They can generally recognise and relate what they see on a computer screen with a location on the piece being measured. They know how to reach the next measurement feature following the predefined sequence and can quickly return to the computer if they require a mouse or keyboard to interact with the 3D measurement software.
As the size of measured pieces increases beyond 5 meters, the measurement performance issues will grow as well. Operators may have difficulty understanding their position in the space and distinguishing a measurement target among a multiplicity of other features. Establishing the correspondence between a computer display and a physical location becomes increasingly hard. Operators may need to cover several meters to reach the next measurement feature. Returning to the computer operating the 3D measurement software increases task time.
With laser trackers on the scene, customers quickly began adapting their large-scale measurement techniques. Such tasks often required two operators: one physically performing measurements, the other at the computer operating the measurement software to initiate the functionalities and address questions. Other adaptations included redirecting the computer screen to a larger monitor, a projection screen, or a blank wall, providing improved visuals for operators.
While these initial solutions improved the workflow, they were imperfect. Needing two operators doubles the human cost of measurement tasks and maintaining necessary eye contact with a fixed screen while moving within a large assembly is very difficult.
Improvements Evolve
Fortunately, two types of technology allowed operators to make major performance gains in large-scale 3D measurement tasks.
The first was projection technologies: laser projectors that project 3D contours using a laser beam and area-based projectors that project images. Both devices can project guidance geometry and measurement results on the surface of measured pieces, facilitating the execution of measurement sequences and the analysis of measurement results.
However, using projectors can be difficult and constraining. Localising the projector properly into the coordinate system of the measured piece poses difficulties. A projector can only reach surfaces visible from its point of view, which could require moving the projector into multiple locations or purchasing multiple projectors to efficiently handle large assemblies. New assignments then require new setups.
The second technology that improved large-scale measurement tasks was the mobile phone, which could be quickly transformed into a remote control via specialised apps. Operators could not only visualise guidance geometry and measurement results on the mobile phone screen but also easily match a feature on the screen to a location on the measured piece while near the 3D measurement device and using a 3D measurement software that automatically adapts its display to the 3D measurement device position. Users could also interact with the computer remotely, enabling large-scale measurement by a single operator in many cases.
Furthermore, 3D visual information on a mobile phone acting as a remote control is always available, since there are no shadow areas that may occur as with projectors.
Yet mobile phones also have their limitations. Many lack the sensors to measure their orientation in a 3D space. Screen displays only correspond to the operator’s view of the measured piece when the mobile phone is close to the 3D measurement device. Operators must also carry the mobile phone while measuring. If they were to be climbing a ladder, for example, an operator would need both hands to remain safe.

Mixed Reality Goes Beyond
Emerging mixed reality technology is transforming large-scale metrology by offering the same benefits as projectors and remote controls without the limitations, while delivering several additional powerful capabilities.
Compared to using projectors or mobile phones, Microsoft’s HoloLens 2 smart glasses showcase numerous advantages, including:
- Tracking position and orientation changes by 6 degrees of freedom
- Tracking eye movements
- Offering holographic projection technology, which displays graphical information on a measured piece once the device is localised to the piece coordinate system
- Recognising hand gestures via several cameras and embedded software
- Scanning the surrounding environment in 3D and in real time
- All while being head-mounted
These smart glasses enable the development of mixed reality apps interconnected with 3D measurement software for projection and remote-control functionalities. Stable geometries projected on measured pieces guide and review measurement results, regardless of the operator’s position and without any shadow areas. There is no fixed setup; operators can quickly switch from one piece to another, using instinctual gestures to interact with the user interface. Measurement is safer, as operators work hands-free.
Sensors of mixed reality devices also unlock major innovations not available from projectors or remote controls. Since operator position and point of view is always known, redirecting a lost laser-tracker beam to the operator is easy. So is changing operator location when a large displacement is required. Controlling a cursor and creating a 3D point at a specific location is easily done with head and eyes, as is making an annotation on a color map, reporting a defect, or defining a reference point for an alignment.
Operators can also use their hands to manipulate 3D geometry within the piece coordinate system. They can align 3D holograms to localise the mixed reality device in relation to the piece, and automatically capture mixed reality images that combine reality and holograms to ensure the traceability of manual measurement operations.