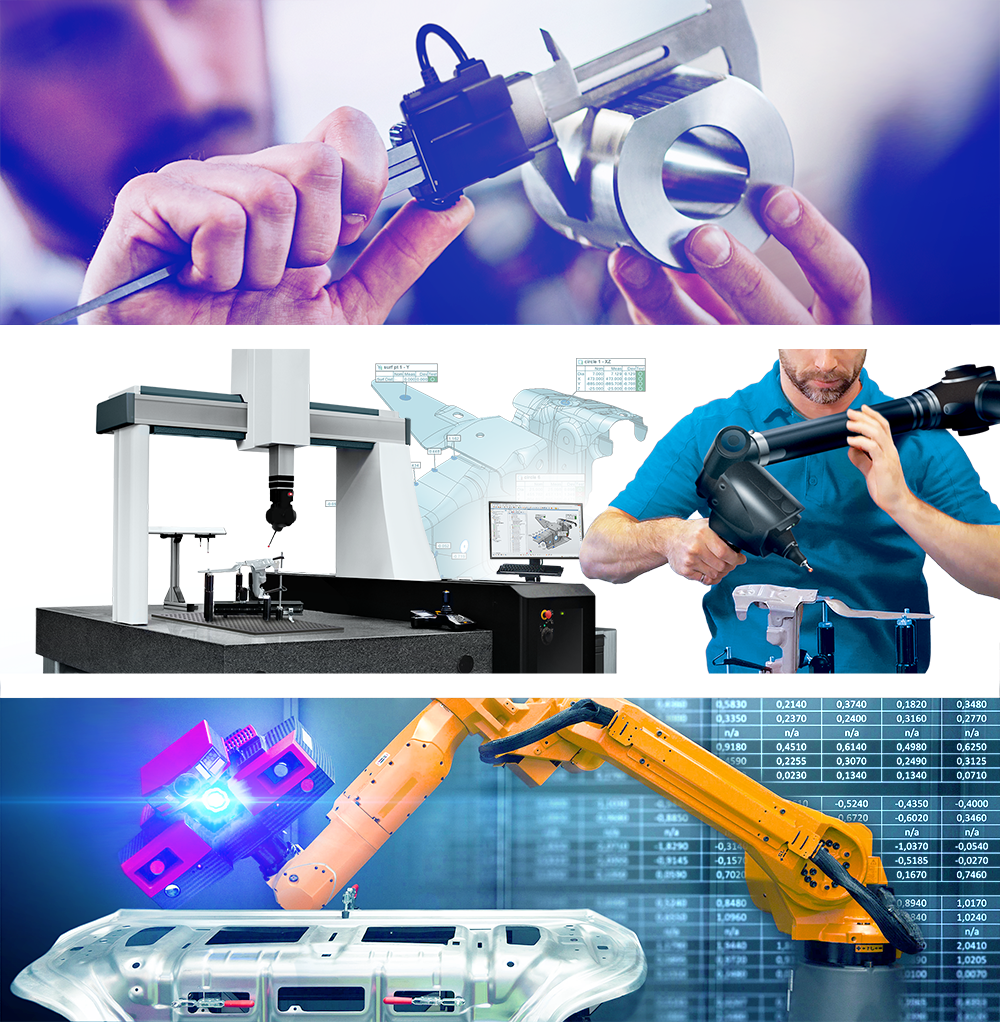
The invention and improvement of 3D measurement technologies over the past six decades have made it possible to manufacture increasingly sophisticated and high-quality products. It started in the 1960s when coordinate measuring machines (CMMs) arrived in the automotive industry along with the first 3D measurement software. In those days, software engineering was in its infancy, with no standard computer or operating system. As a result, these early 3D measurement products were closed systems and every brand of 3D metrology hardware provided its own software. And so began a culture where multiple software products were required in 3D measurement labs.
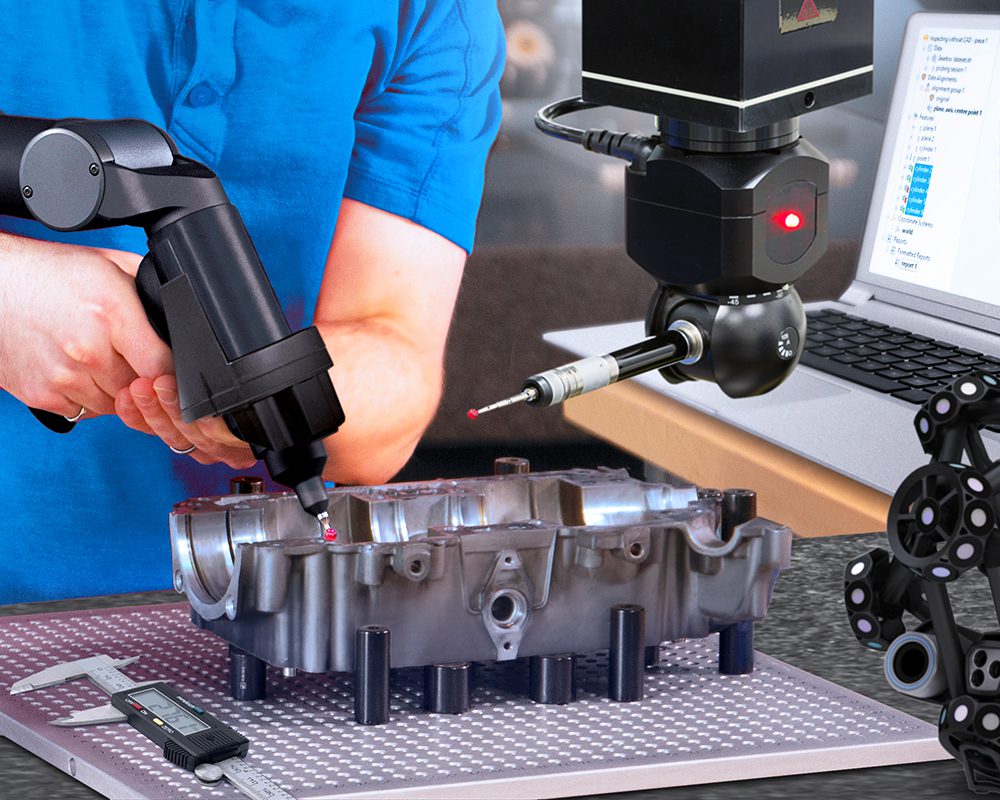
To this day, some companies use more than five different brands of software for 3D measurement. They may use one or two on their CMMs, typically provided by the CMM manufacturers themselves; two or three for portable metrology systems, such as scanning arms, structured-light scanners, and laser trackers; and one or two for their digital gauges.

Issues with using multiple 3D measurement software
It’s no surprise that the cost of measuring and the risk of error increase with the number of software products used:
- Training must be provided for operators to master multiple user interfaces and workflows.
- Maintenance and software updates must be managed for each product.
- Measurement projects must be duplicated and adapted for each software solution.
When relying on multiple software programs, multiple workflows must be mastered, which hinders the performance of 3D measurement teams because:
- CMM operators tend to operate only CMMs while portable metrology operators typically specialise in one or two types of portable metrology equipment, creating team silos that restrict mobility and limit teamwork efficiency.
- Operators build superficial knowledge of each software instead of deepening their knowledge of just one, increasing production time.
- Data management increases in complexity as each software has its own proprietary format, requiring added processing to aggregate the data into formats that engineering and manufacturing teams can digest.

1st evolution: Hardware-neutral 3D measurement software and standards
In the 1990s and 2000s, hardware-neutral 3D measurement software and standards emerged that allowed one software to handle multiple brands of 3D measurement hardware. For example:
- Several CMM software implemented multiple controller protocols and used the neutral Dimensional Measurement Equipment (I++ DME) specification to operate multiple brands of CMM hardware.
- The Dimensional Measuring Interface Standard (DMIS) was introduced and allowed offline CMM programming software to build programs for multiple brands of software and hardware, as well as a certain level of data exchange between brands.
- Software development companies launched hardware-neutral 3D measurement software that could operate multiple brands of scanning arms and laser trackers. This breakthrough was made possible by manufacturers of portable metrology equipment who decided to offer open software development toolkits to interface with their hardware.
Hardware-neutral 3D measurement software represented considerable progress, allowing operators to connect to multiple brands of hardware from a single software. However, measurement technologies continued to remain within silos:
- The CMM and portable metrology measurement workflows were so different that they kept operators working in separate environments.
- Digital gauges could only be operated from specialised gauging software.
- Robot-based automated measurement cells were launched using dedicated software solutions that tightly integrated trajectory programming with measurement sequences, creating a new software silo.
With these incompatible systems, the only way to combine measurements from multiple software was to aggregate the results externally. A disruptive technological shift was needed to eliminate silos, streamline workflows, and maximise the performance of 3D measurement processes for manufacturers.

2nd evolution: The universal 3D metrology software platform
In 2016, InnovMetric broke the mold by launching the first version of PolyWorks|Inspector™ capable of operating portable metrology equipment and CMMs within the same user interface.
What made PolyWorks|Inspector 2016 so unique was that it allowed portable metrology and CMM operators to:
- Use the same workflow and software tools to prepare their inspection projects, execute the measurement sequence, and analyse and report measurement results; and
- Quickly adapt a measurement sequence to different technologies. For example, operators could adapt an existing CMM inspection project for a portable metrology device within minutes.
With these new capabilities, there was no longer a need to duplicate inspection projects, saving considerable time and reducing errors. Measurement operators only had to set up their inspection project, define the measurement sequences, and create the inspection reports once.

Since then, InnovMetric has continued to enhance its PolyWorks|Inspector solution. Now, users can:
- Integrate digital gauges and visual checks into its measurement capabilities, eliminating the digital gauge silo;
- Preconfigure measurement templates for multiple 3D measurement devices, such as one for a CMM and another for a scanning arm within a single inspection project. Users can choose the template they need according to hardware availability, and all measurement data and results for a part are stored in the same inspection project, regardless of the technology used for measurement, making analysis and reporting easier; and
- Exploit a universal data hub to analyse and report measurement results obtained from data captured externally. Because of the tight integration needed to obtain optimal performance, robot-based automated measurement cells typically offer software to prepare projects and execute the measurements. The universal data hub allows users to automatically bring the measured data into PolyWorks|Inspector after it has been captured.

Significant benefits delivered by a universal 3D metrology software platform
Customers that have adopted the PolyWorks|Inspector universal 3D metrology software platform are reporting that they have considerably reduced their cost of measurement:
- Training costs are reduced, as team members are now learning a single software.
- Software maintenance costs are reduced by minimising the number of software updates.
- The time required to perform the hardware-independent steps of inspections is reduced by thousands of person-hours annually, since they are now only done once per inspection.

They were also able to boost the performance of their 3D measurement teams by:
- Enabling portable metrology operators to easily learn how to use CMMs and CMM operators to master portable metrology. Teams became more versatile, making it easier to cope with the absence of a colleague or the unavailability of a device;
- Increasing operators’ skills through deeper dimensional inspection knowledge on one software;
- Eliminating the risks of human error that were inevitable when duplicating projects; and
- Storing all inspection data and results in a single repository automatically, eliminating the need to aggregate results externally.
Start your journey towards universal 3D dimensional analysis and quality control
With its PolyWorks|Inspector universal 3D metrology software platform, InnovMetric has revolutionised 3D metrology by addressing the struggles of measurement teams. Most importantly, it allows bringing all 3D measurement data together which facilitates the sharing of inspection projects with other departments directly, an essential step toward a digital enterprise.