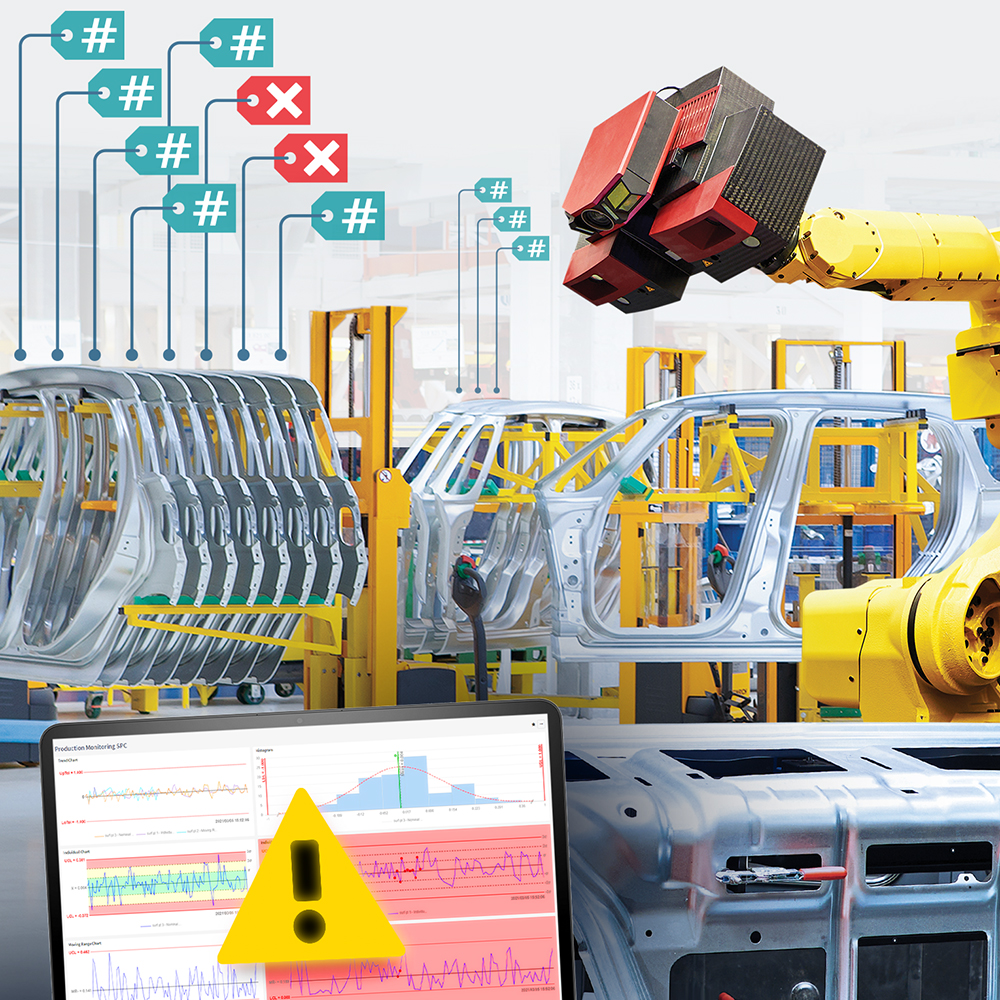
By virtually representing physical objects or processes and simulating reality within a virtual environment, digital twin technologies are achieving breakthroughs in a number of prominent fields, including manufacturing, construction, and healthcare. Digital twins based on accurate 3D scan data both validate and improve manufacturing. They enable digital assembly processes and quality checks that cut costs, accelerate launch times, and improve form, fit, and function.

In the manufacturing world, a digital twin instance (DTI) is the digital twin of an individual instance of a manufactured part or product. Point cloud scanning technologies are able to quickly and accurately measure surfaces of manufactured pieces and assembled products, making them ideal tools to create DTIs. Equally necessary is a robust digital data management solution to properly manage large 3D measurement projects, encapsulate the metadata that tie measured pieces to the production process, and digitally share DTIs enterprise-wide.
Who needs the physical piece once surfaces have been entirely scanned?

Almost no one. Once the surface of a physical piece has been entirely scanned by a point-cloud scanner, the resulting DTI can be inspected, investigated, and simulated without returning to the physical piece.
Imagine the case of a production failure. Having all manufactured pieces scanned lets quality control teams go back to the pieces that were manufactured in the past 24 hours and virtually analyse them to determine precisely which pieces are incorrect, and remove them from the warehouse before shipping, avoiding a costly recall.
Consider being an OEM receiving scans of prototype pieces from several suppliers. Virtually assembling them leads to discovering that one supplier has used an incorrect revision of a CAD model. The supplier is immediately contacted and instructed to use the proper iteration, again prior to production and shipping.
Or envision an unhappy customer contacting you, an aerospace component supplier, claiming the piece he has purchased was out of tolerance when shipped. Thanks to a scan done prior to shipping, you can prove the piece was within tolerance and head off customer dissatisfaction, much less a lawsuit.
A final example: an aftermarket manufacturer scans the mating pieces of its new product, converts these scans into NURBS surfaces, and imports these reverse-engineered models within the simulation software to analyse the behavior of the new product design once assembled. Such a simulation helps uncover and fix a dimensional issue that would have reduced the product’s durability.
These examples demonstrate that in processes as diverse as design, engineering, production, and maintenance, the digital twin approach offers a vast potential for process improvement and cost avoidance.
Challenges of implementing point-cloud-based digital twin processes in manufacturing

Although DTIs offer enormous potential for manufacturing organisations, there are challenges to implementing digital twin processes based on models built from point cloud data.
Take file handling. Point cloud scanners produce megabytes of information per second. After having converted raw point clouds into accurate polygonal representations of the measured surfaces, a single measured piece file could contain hundreds of megabytes of data. Customers who plan to scan the output of a production line could have to handle tens of thousands of files and terabytes of new data yearly. Managing such large amounts of data by hand is unthinkable.
Then there’s traceability. Scanned models must be tied to the key pieces of information related to the measured piece and the manufacturing and measurement processes, such as the serial number, part number, measurement device ID, production line, operator name, etc. For production and maintenance operations, this metadata is critical to ensure traceability, as it provides an unequivocal match between the DTI and its physical counterpart.
Sharing and collaboration can also be a challenge. Scanning technology is awesome, but if the colleagues who would benefit most from the advantages of this process can’t easily get their hands on the DTIs they need, they will tend not to use them. Remove the pain to reap the gain.
A digital data management system for successful digital twin deployments

How to remove the pain? By deploying a digital data management system built for handling large measurement projects and DTIs. In addition to eliminating local hard drives by storing 3D measurement data on a central server, this digital data management system:
- Automates managing files and folders, eliminating the use of file browsers.
- Ensures data security and integrity while facilitating backups.
- Ties each DTI to the key metadata describing its corresponding physical piece, the manufacturing process that fabricated it, and the measurement process that produced it, creating and ensuring complete digital twin traceability.
- Offers enterprise-wide access to DTIs through a search engine that quickly finds DTIs based on metadata keywords.
- Manages permissions to control who has access and what can be done with the data.
To maximise the performance of a digital data management system, organisations should consider creating a metadata strategy that involves identifying key information about measured pieces and processes that should be kept within measurement projects.
Point cloud scanning + data management system = scalable digital twin processes
Organisations who envision the extensive use of point-cloud-based digital twin processes should implement a digital data management system, such as PolyWorks|DataLoop™ from InnovMetric, to ensure the scalability of their processes. Only a data management system can handle tens of thousands of files and preserve the precious metadata that describes where this data is coming from and how it was produced. Such a system improves team efficiency by allowing digital twin consumers to pull data from the system by themselves, without instructions from data producers.
Realise the transformative power of digital twin technology and comprehensive data management for your organisation
PolyWorks|DataLoop is a scalable data-management solution facilitating access to vast amounts of metrology data produced by multiple measuring sources (CNC CMMs, laser scanning, etc) available to engineers and decision-makers across your organisation, driving faster and better decisions.