Using the teach mode makes it easier to prepare a measurement sequence by automating operations:
- The teach mode records manually-probed points and Go to Position points.
- It automates multi-piece measurement by converting probed features from the first piece into measurement guides for subsequent pieces.
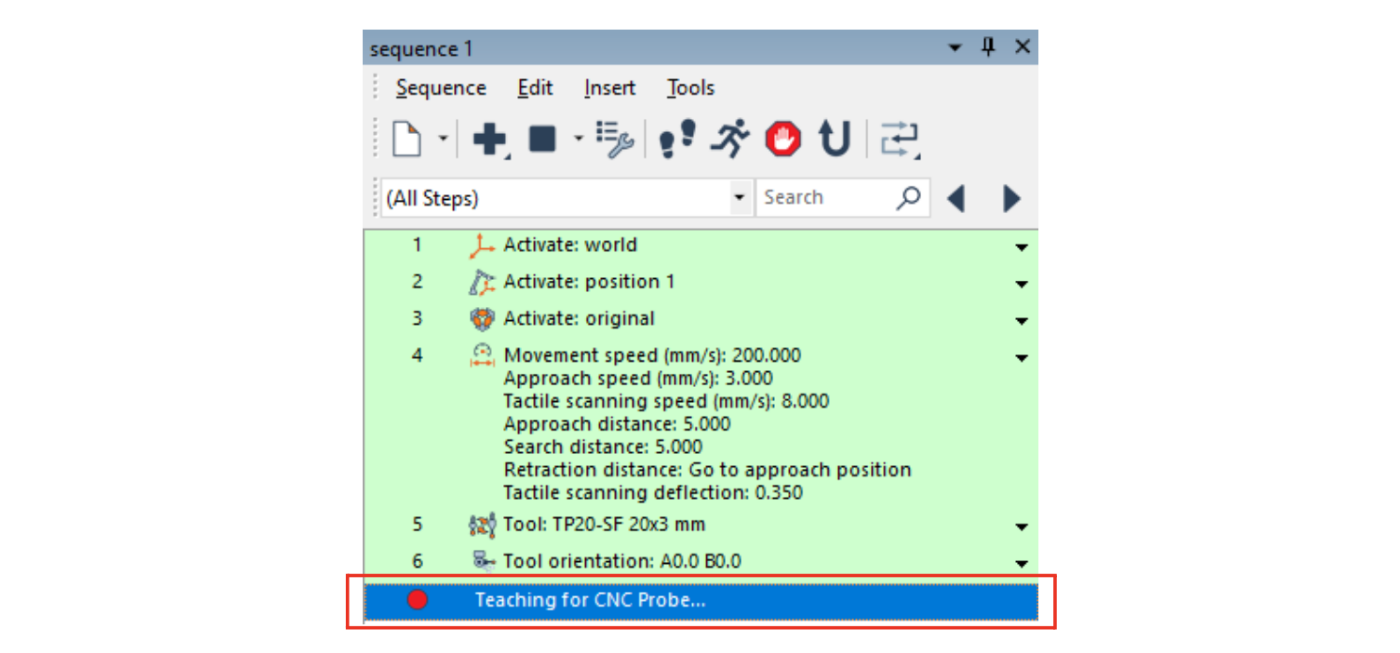
In the Sequence Editor pane, start the recording mode, then choose Edit > Teach Mode. The teach mode can also be enabled through the Start/Stop Recording menu button located on the Standard toolbar.

When enabled, the teach mode is indicated in the measurement sequence: Teaching for CNC Probe (when CNC probing) or Teaching for Guided Acquisition (when probing in a guided mode). The following example represents the teach mode for a CNC probing operation.
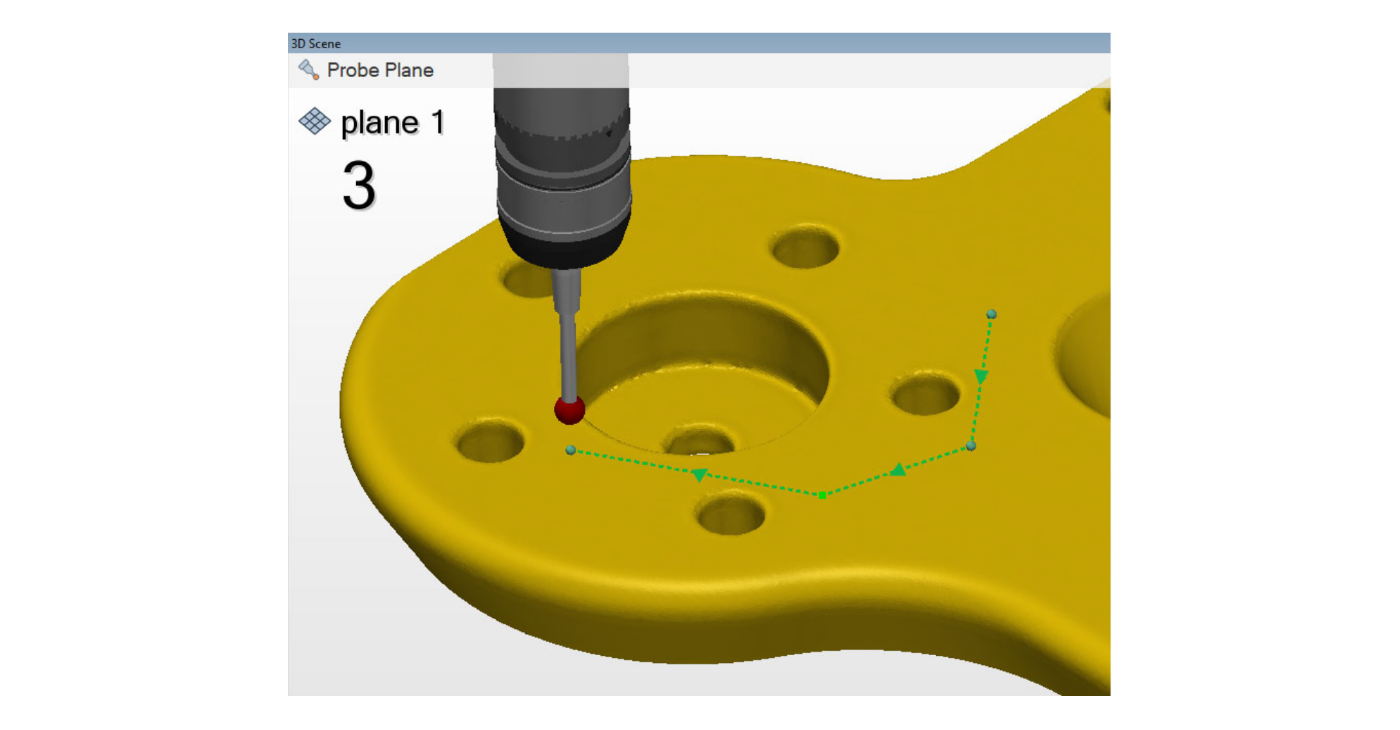
When the teach mode is enabled and points are probed in the 3D scene, the probed data points are represented by spheres, and when connected to a CMM device, arrows are displayed on the measurement path to show the measurement path direction.
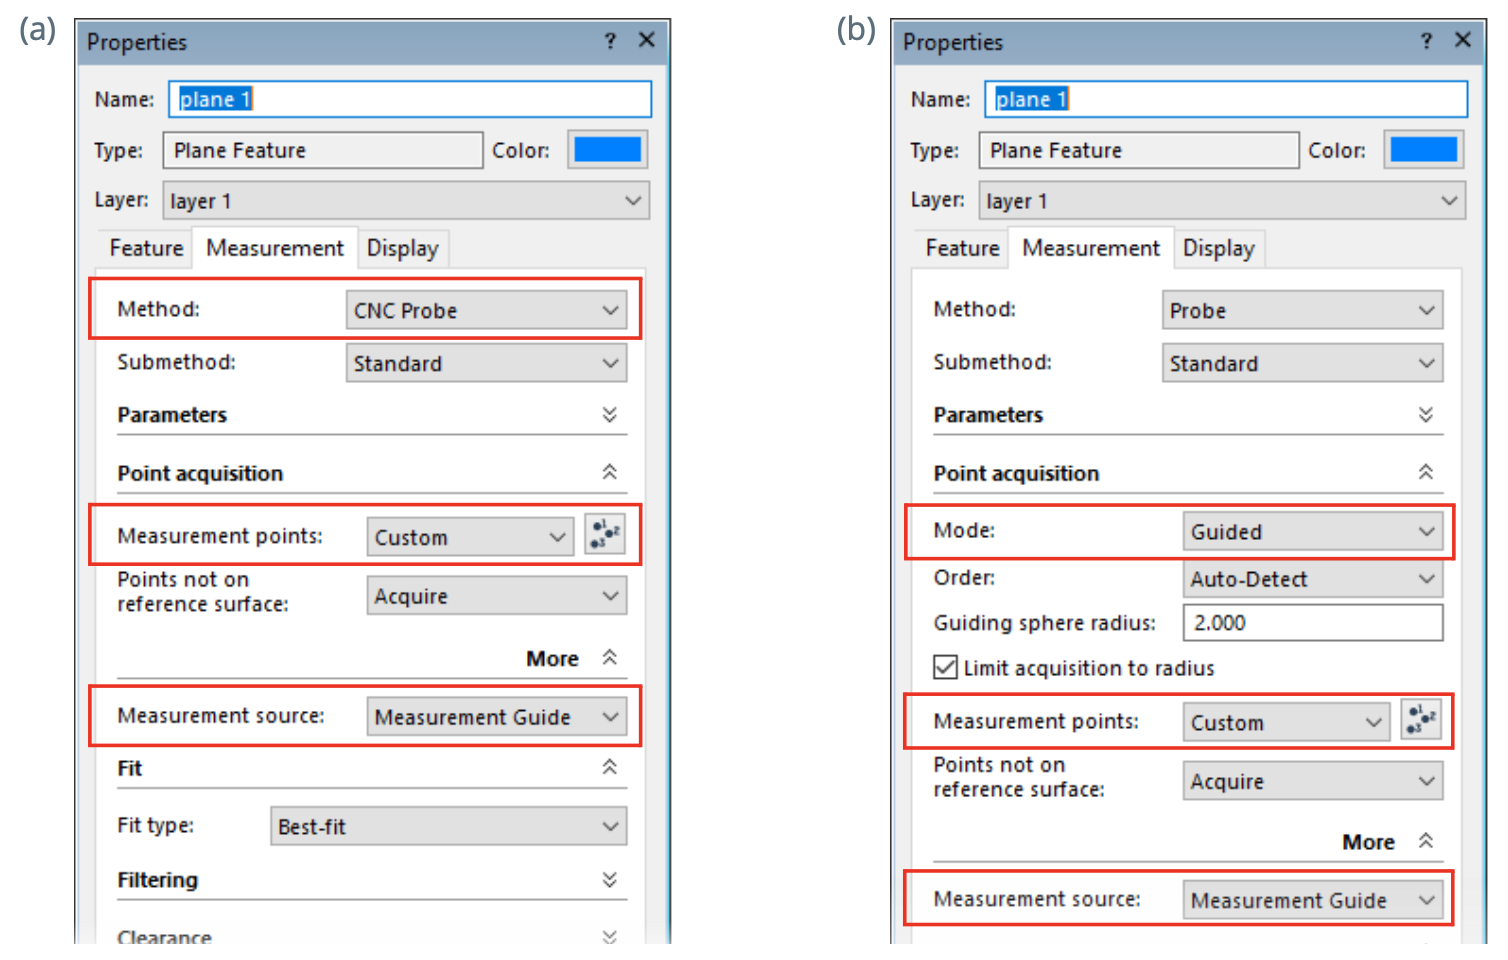
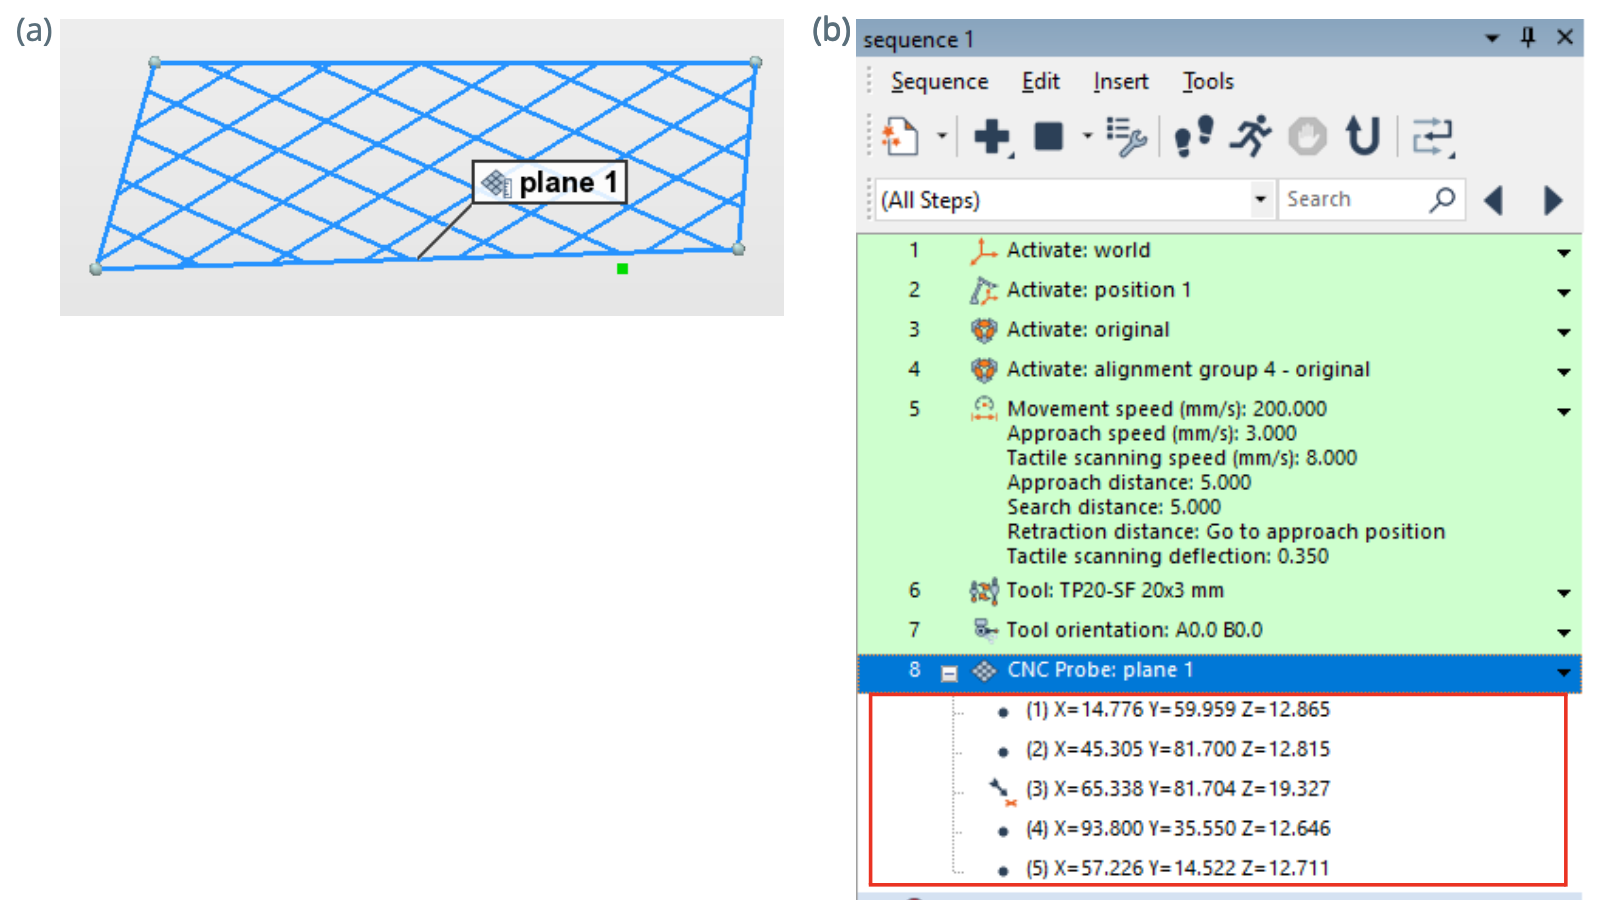
As a result, a measurement guide is automatically created from the measured feature component, as shown in (a), and measurement points are generated and displayed in the measurement sequence, as shown in (b).
Parameters are automatically set in the feature property sheet to facilitate remeasurement.
- When connected to a CMM device, the measurement method is automatically set to CNC Probe, the creation method for measurement points is set to Custom, and the measurement source is set to Measurement Guide, as shown in (a).
- When connected to a probing device with the probing method and the standard point acquisition mode, parameters are also automatically changed, as shown in (b).